Greetings, printer owners! Today, we embark on a journey of discovery, focusing our attention on a common printing companion—the Dell printer. Whether you’re facing frustrating paper jams, ink cartridge issues, or connectivity glitches, fear not! In this comprehensive guide, we’ll equip you with the knowledge and troubleshooting techniques to tackle common printer problems and restore your Dell printer to its optimal performance.
1. Diagnose the Issue: Identify the Culprit
Before diving into repairs, it’s crucial to diagnose the underlying issue with your Dell printer. Is it refusing to turn on? Producing blurry prints? Displaying error messages? By identifying the specific problem, you can streamline your troubleshooting efforts and target the appropriate solutions.
2. Basic Troubleshooting: Start with the Essentials
Begin your printer repair journey by addressing the basics. Ensure that all cables are securely connected, power on the printer, and check for any error messages on the display panel. Additionally, confirm that the printer has sufficient ink or toner and that there are no paper jams hindering the printing process.
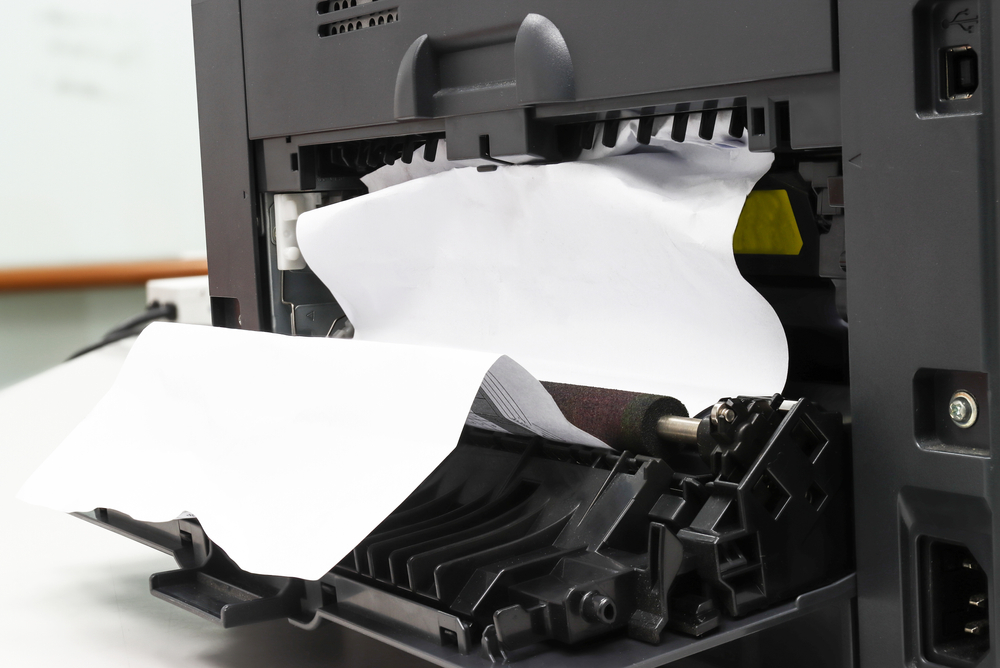
3. Clear Paper Jams: Freeing Your Printer from Obstructions
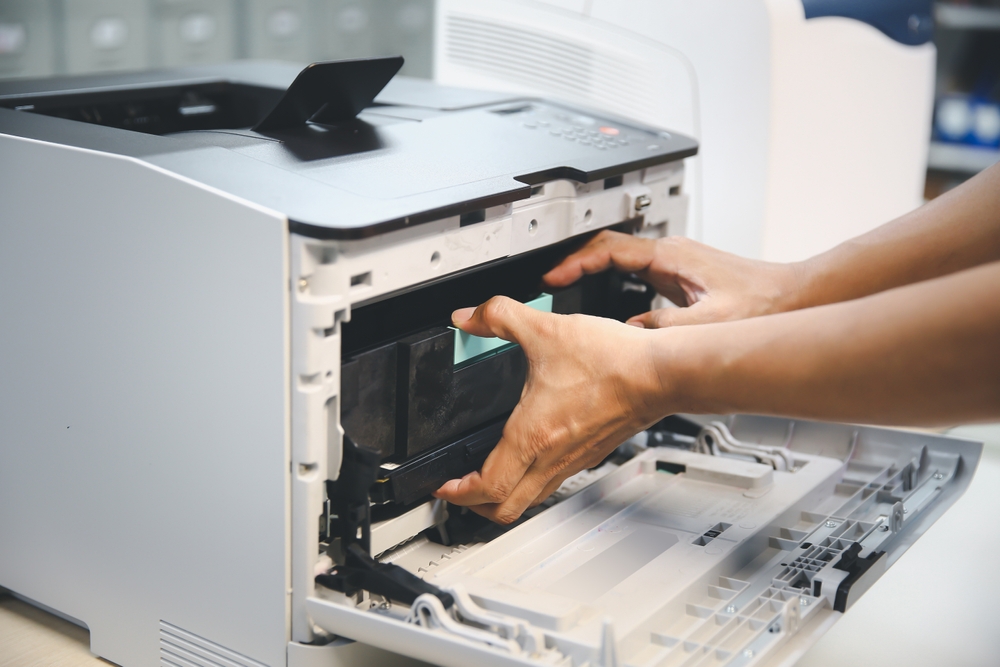
One of the most common printer issues is paper jams. To resolve this, follow these steps:
a. Turn off the printer and unplug it from the power source. b. Open the printer cover and gently remove any jammed paper. Be careful not to tear the paper, as remnants can cause subsequent jams. c. Close the printer cover, reconnect the power, and turn on the printer to resume printing.

4. Updating Drivers and Firmware: Ensuring Compatibility and Performance
Outdated printer drivers or firmware can lead to compatibility issues and performance glitches. To address this, visit the Dell support website and locate the latest driver and firmware updates for your specific printer model. Download and install them following the provided instructions to ensure optimal compatibility and performance.
5. Cleaning Print Heads: Restoring Print Quality
If your Dell printer produces blurry or streaky prints, it may be due to clogged or dirty print heads. To clean the print heads:
a. Access the printer’s maintenance or settings menu. b. Locate the print head cleaning option and initiate the cleaning process. c. Follow the on-screen instructions to complete the cleaning cycle. d. Print a test page to verify if the print quality has improved.
Troubleshooting Connectivity: Resolving Communication Issues
If your Dell printer is experiencing connectivity problems, consider the following steps:
a. Verify that the printer is connected to the network or computer properly. b. Restart your router, computer, and printer to refresh the network connections. c. Ensure that the printer’s network settings are correctly configured. d. If using a USB connection, try using a different USB port or cable to rule out any physical issues.

7. Seek Professional Assistance: Dell Customer Support
If you’ve exhausted all troubleshooting efforts and the issue persists, it’s time to reach out to Dell’s customer support. Visit the Dell support website, find the appropriate contact options, and get in touch with their knowledgeable representatives who can provide further guidance and assistance.
If your printer woes persist or you simply prefer leaving the repairs to the experts, look no further than Laser Action Plus. Our skilled technicians are equipped with the knowledge and experience to handle all your printer repair needs. From Dell printers to various other brands, we specialize in diagnosing and resolving issues efficiently and effectively.
Don’t let printer problems disrupt your productivity any longer. Contact Laser Action Plus today and let our professional team restore your printer to peak performance. Experience the peace of mind that comes with trusting the experts. Schedule your printer repair service now and get back to smooth, hassle-free printing in no time.


